
All those settings.
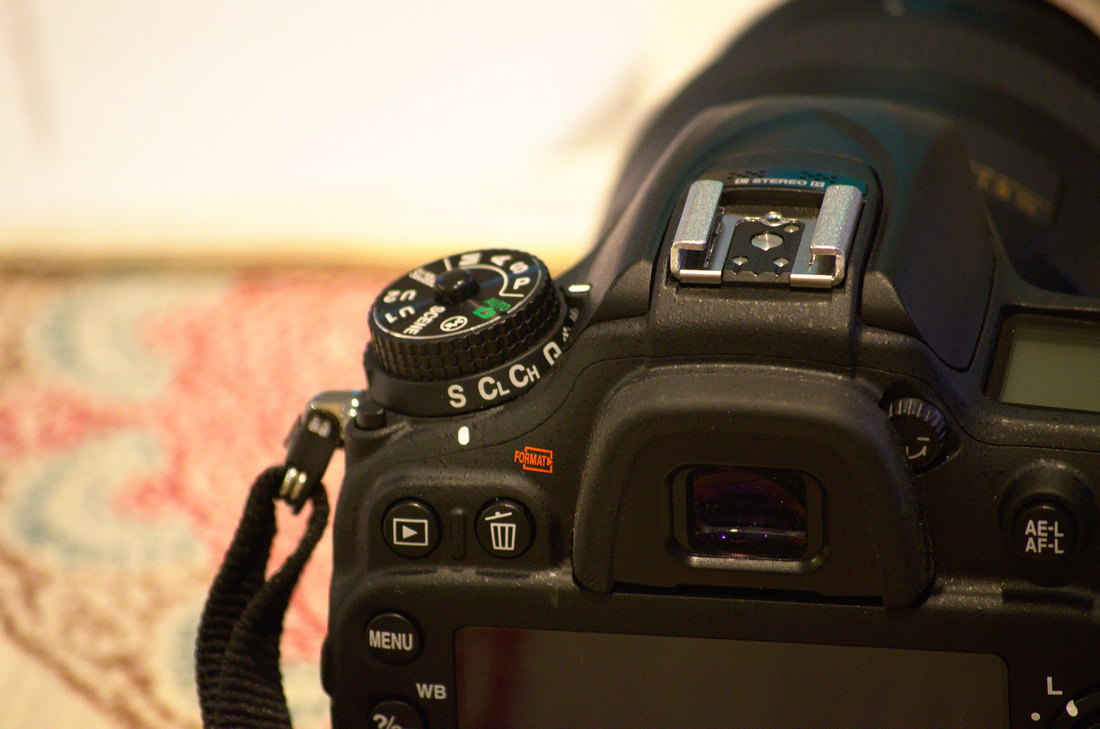 Nikon D7200The setting knobs on a Nikon D7200
 One of the things I learned at the Master's class was that at least some photographers don't know what these settings are good for (besides impressing other people). Going beyond the basics is outside of the scope of this blog, but a little information can work wonders. You can find cheat sheets for most cameras which are easier than reading the manual - when you can get it.
It's worth using the different modes on your DSL. After all, that's why you paid for it.
There are two relevant settings on the knob in the centre of this image. The bottom ring sets whether the camera takes a single shot, continuous 3 frames a second, continuous 10 frames a second, self timer and mirror lock. Neat, but other than bracketing, I usually use the S. The dial on top sets the mode and that's far more useful.
I have it set for automatic, without a flash. Elsewhere I've set the speed to 200 - it can do automatic speed adjustment but that tends to end up with very high speeds and lots of grain. This setting tries to balance off shutter speed and aperture for generally optimal shooting. It's a good first approximation, but the other settings, P,A,S,M, are useful.
P turns on the programming mode. That lets you set things like HDR (if you don't save raw images) or bracketing. Neat but not particularly useful.
A, on the other hand is often exactly what you need. With A you set the aperture - the 'f-stop' - and let the camera pick the shutter speed. This lets you force the lens to use a high f-stop (small aperture) with good depth of field, or to use a low f-stop for shallow focus.
Using the highest F-stop let me take this image:
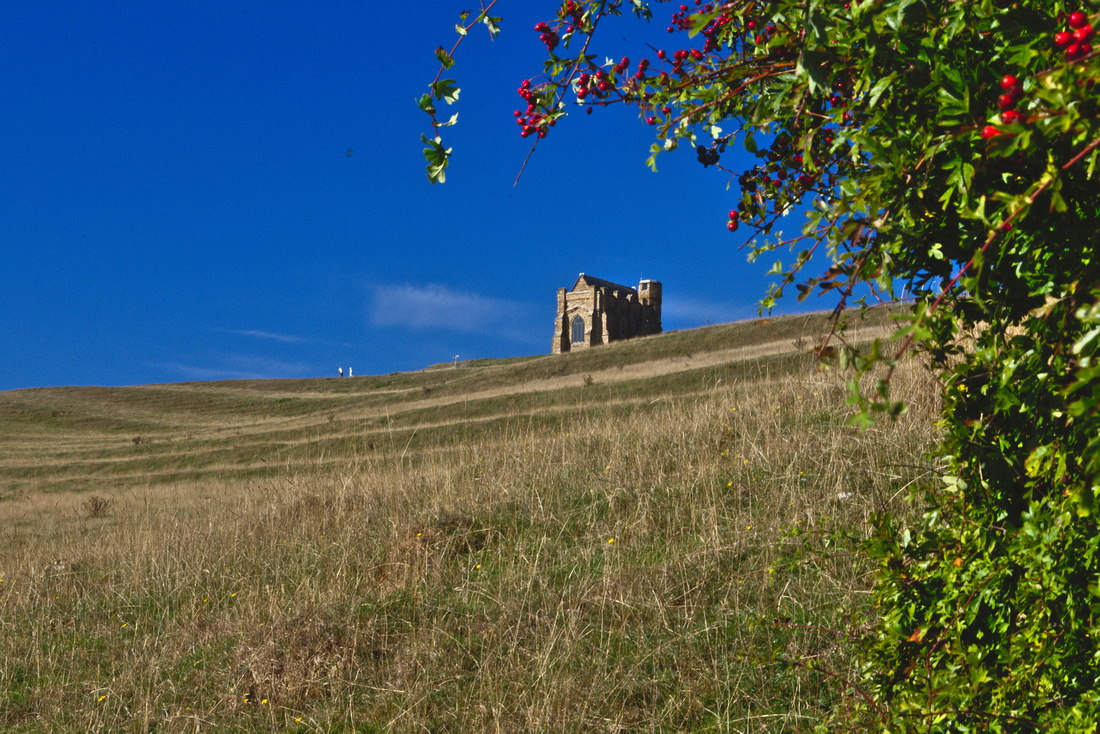 Saint Catherine's chapel and Hawthorne
where the hawthorne and the chapel are both in focus.
Saint Catherine's chapel and Hawthorne
where the hawthorne and the chapel are both in focus.
For portraits, I like a big aperture because it defocuses the background. By the way, in a shameless plug, you can book a session with me.
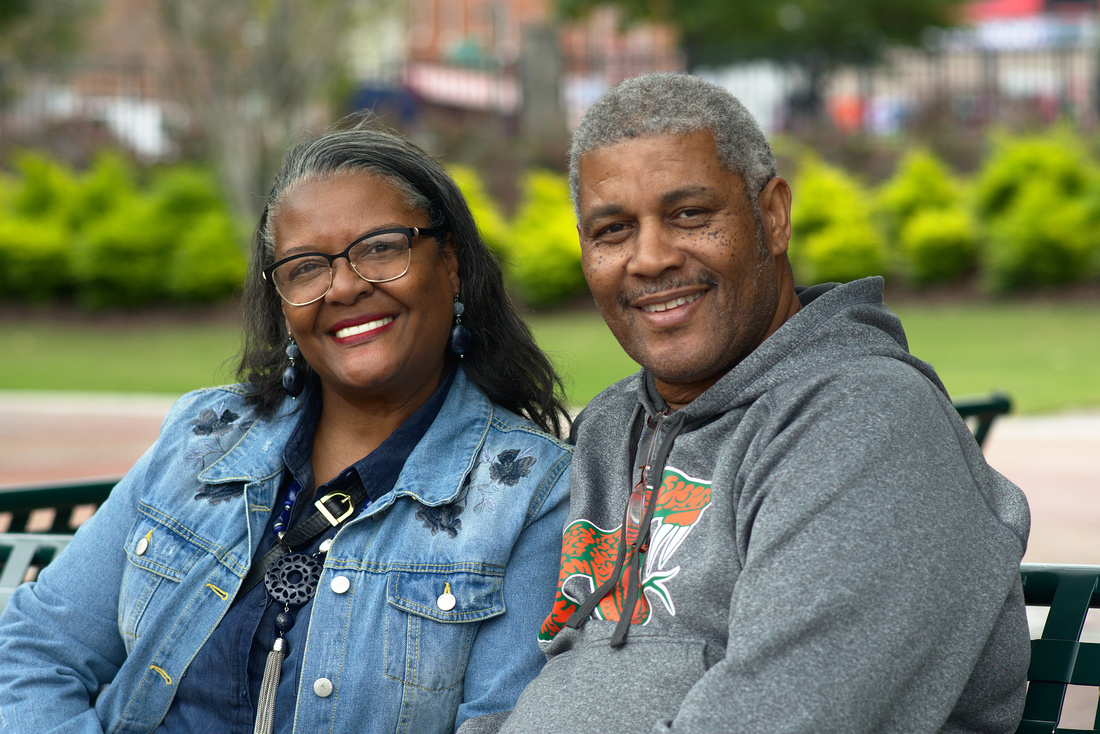 A happy couple
By the way each F-stop is half as bright at the one above it. Since the size of the aperture scales as the width squared, they go by the square root of 2 (e.g. 1, 1.4.2.2.8,4,5.6,8,11,16,22 ...) and usually the lowest number is the best the lens can give you (which is never one).
A happy couple
By the way each F-stop is half as bright at the one above it. Since the size of the aperture scales as the width squared, they go by the square root of 2 (e.g. 1, 1.4.2.2.8,4,5.6,8,11,16,22 ...) and usually the lowest number is the best the lens can give you (which is never one).
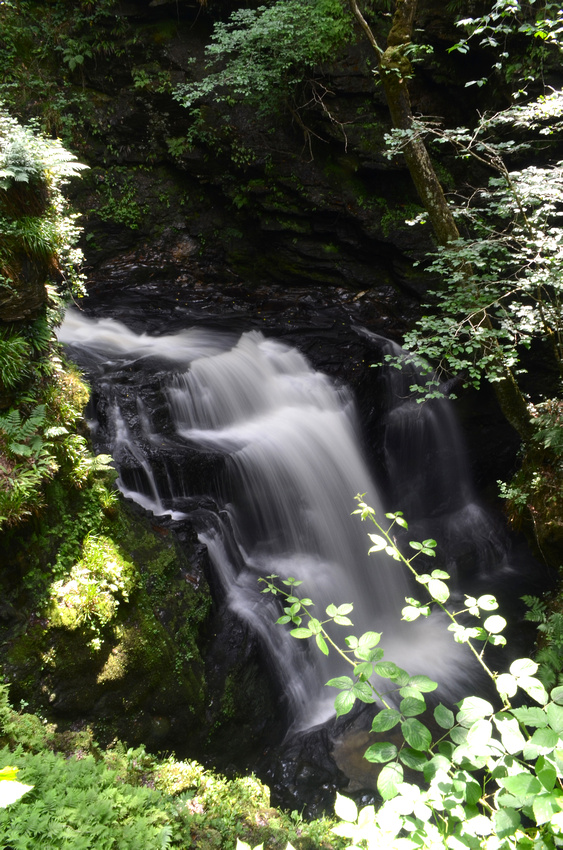
S does the same thing but lets you control the shutter speed. Very useful for action shots and with big telephoto lenses. (1/4000 S is a good idea with a 500mm lens). You can also force the shutter to stay open long enough to get blurred motion.
M lets you set the shutter speed and aperture. There's a bar on the side of the view finder that more or less lets you know how close you are to the correct exposure - or you can just let the speed adjust. I've used manual when taking pictures of the sun or the moon because the camera tries to make the average exposure 15% grey, which is usually fine. In those cases I fix the aperture and shutter speed and then adjust the film speed to get the image I want.
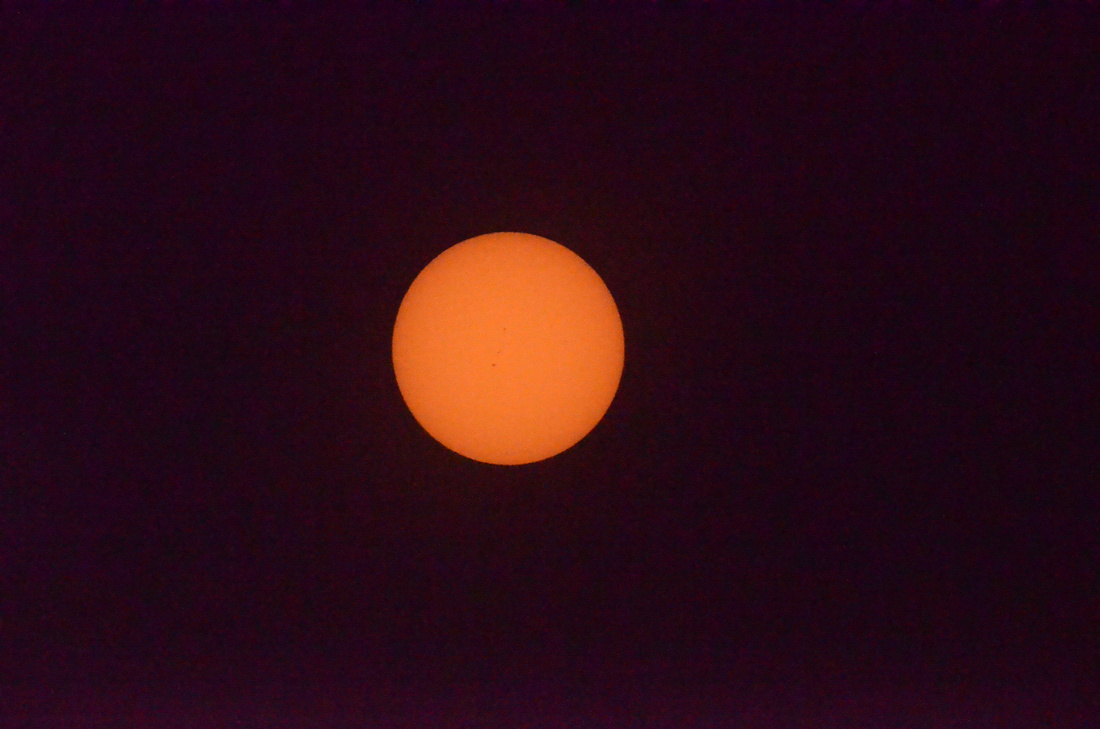 Our SunOur sun, showing a few sunspots. Preparatory to shooting the recent eclipse
You can even see a sunspot or two. (I used a solar filter for this and even through that the contrast and light were too bright to let the camera make the decisions).
Our SunOur sun, showing a few sunspots. Preparatory to shooting the recent eclipse
You can even see a sunspot or two. (I used a solar filter for this and even through that the contrast and light were too bright to let the camera make the decisions).
